Logo Wiki alone 1.2

Reborn Dungeons, and The Wilds

Visit our page with all dungeons and their monsters.

Table of Contents

General information

This page is a general overview with information about the Reborn Dungeons: Leren Chasm, Rhisis Catacombs, Envy Depths, Guardiane Sanctuary, and Storm Peak as well as the New Horizon Dungeon: The Wilds.

This is not a Guide page on how to master them properly.

These Dungeons have different difficulties, dungeon curses, rankings, and various drops.

Locations

Here you can see the locations of the 6 Dungeons. By using the Blinkwing of Madrigal you can teleport to the dungeon, directly.

Coooldowns and types of all existing dungeons

Objective tracker

Inside each dungeon, is an objective tracker which indicates the status of the current objective, as well as the time remaining to complete the current objective.

Difficulties

All dungeons including Meteonyker, Clockworks, Iblis Leanes, and all the Flaris dungeons have different difficulties that you may choose from. The difficulty selected affect the strength of the monsters inside a dungeon, as well as the rewards. The harder the difficulty, the better the rewards. For the 6, the difficulty levels affect the minimum and maximum required levels for entry. This means that as a level 140 player, you can enter every dungeon at the appropriate difficulty that matches your level.

Dungeon coins, difficulty overview, and specials weapon/shield piercing cards

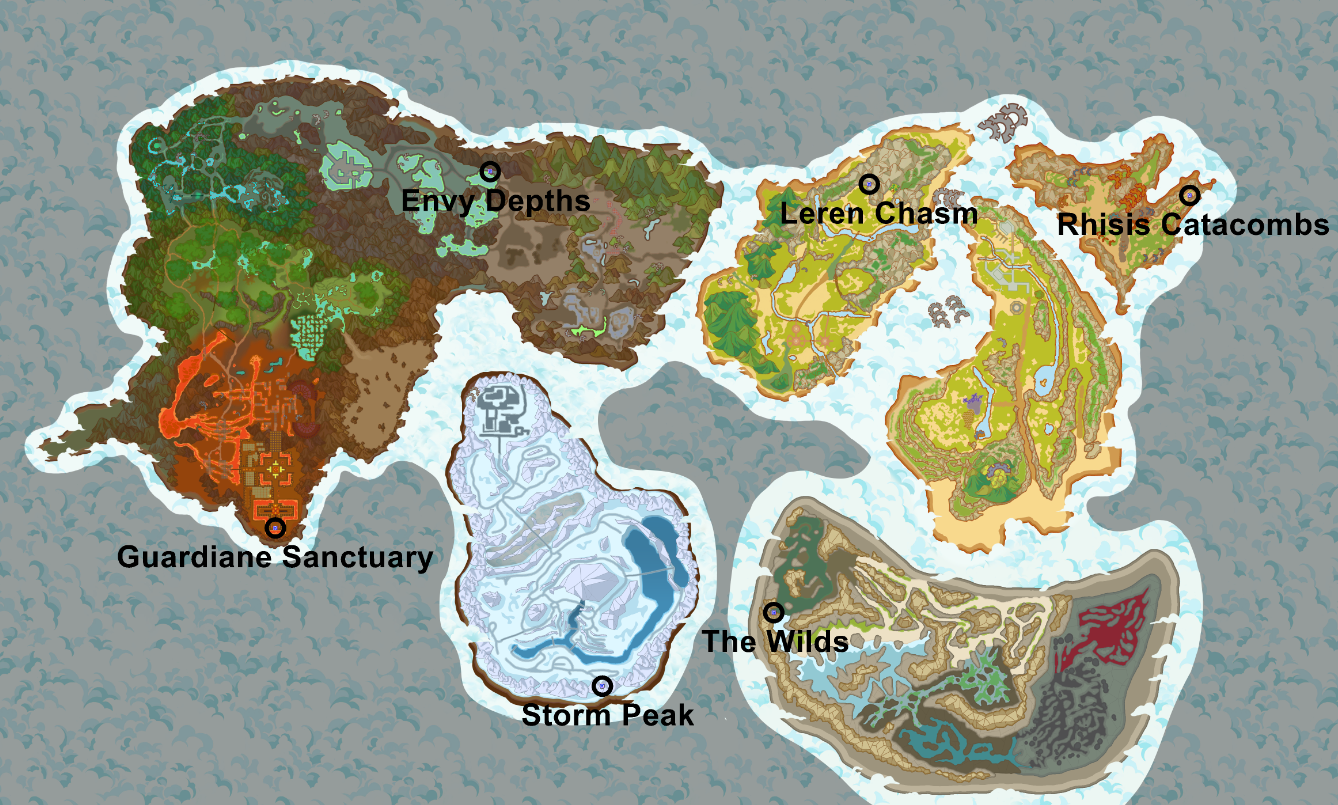
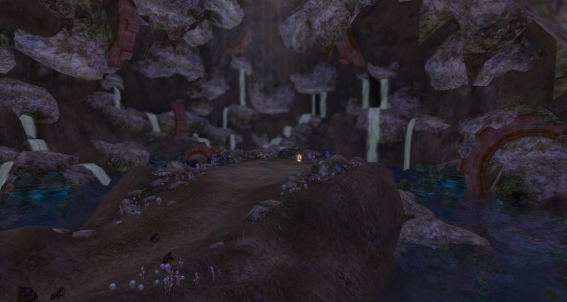
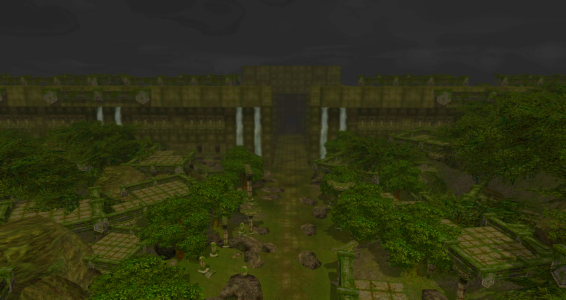
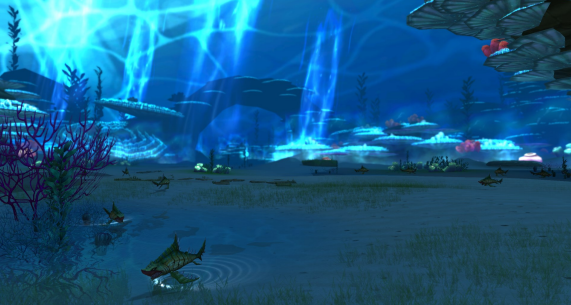
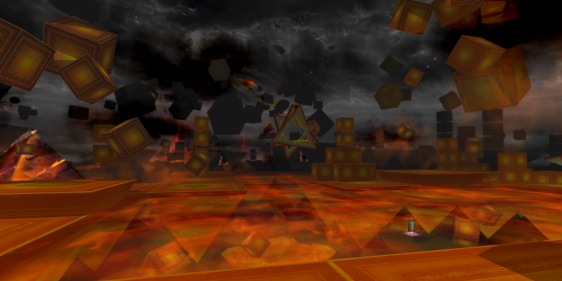
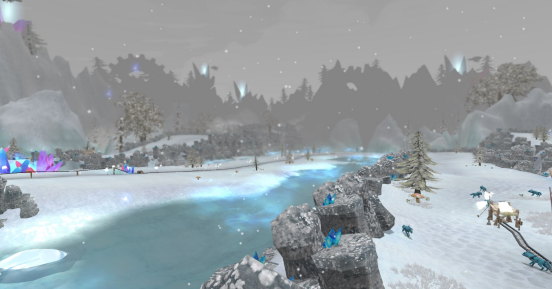
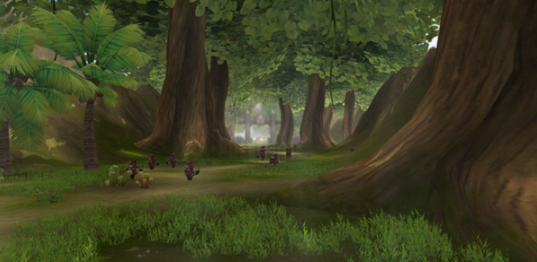
These 6 dungeons are instanced, meaning there is no queue, and every party (or solo player) enters their own instance of a dungeon. The theme of each dungeon matches its respective area.
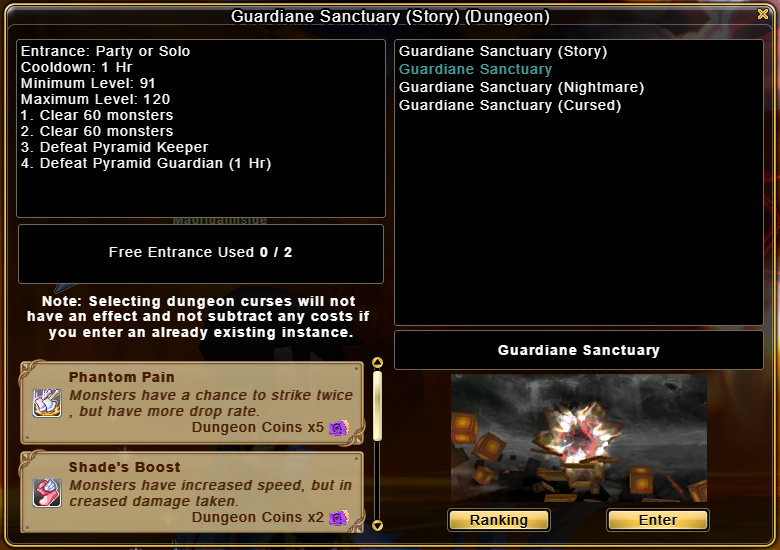
To enter the new dungeons, there are dungeon coin costs for the players entering and for the player creating the instance. All the costs can be viewed in the dungeon
entry window. The cost to enter a dungeon is dynamic for each player – the more dungeons you enter throughout the day, the higher the cost will be each subsequent time, and your number of entries resets every day at midnight server time. These coins can be purchasable with both Penya and fCoins in the cash shop.

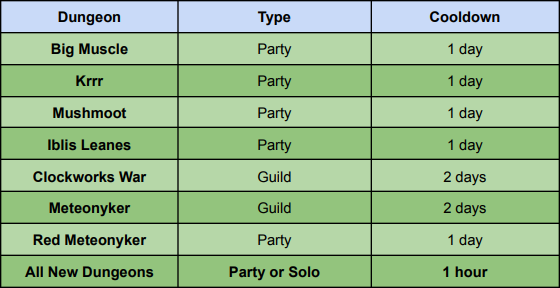
Cooldowns are separate for each dungeon, but the number of entries is shared between all dungeons. Every day players have 2 free entries, +1 if they have an extended battle pass.

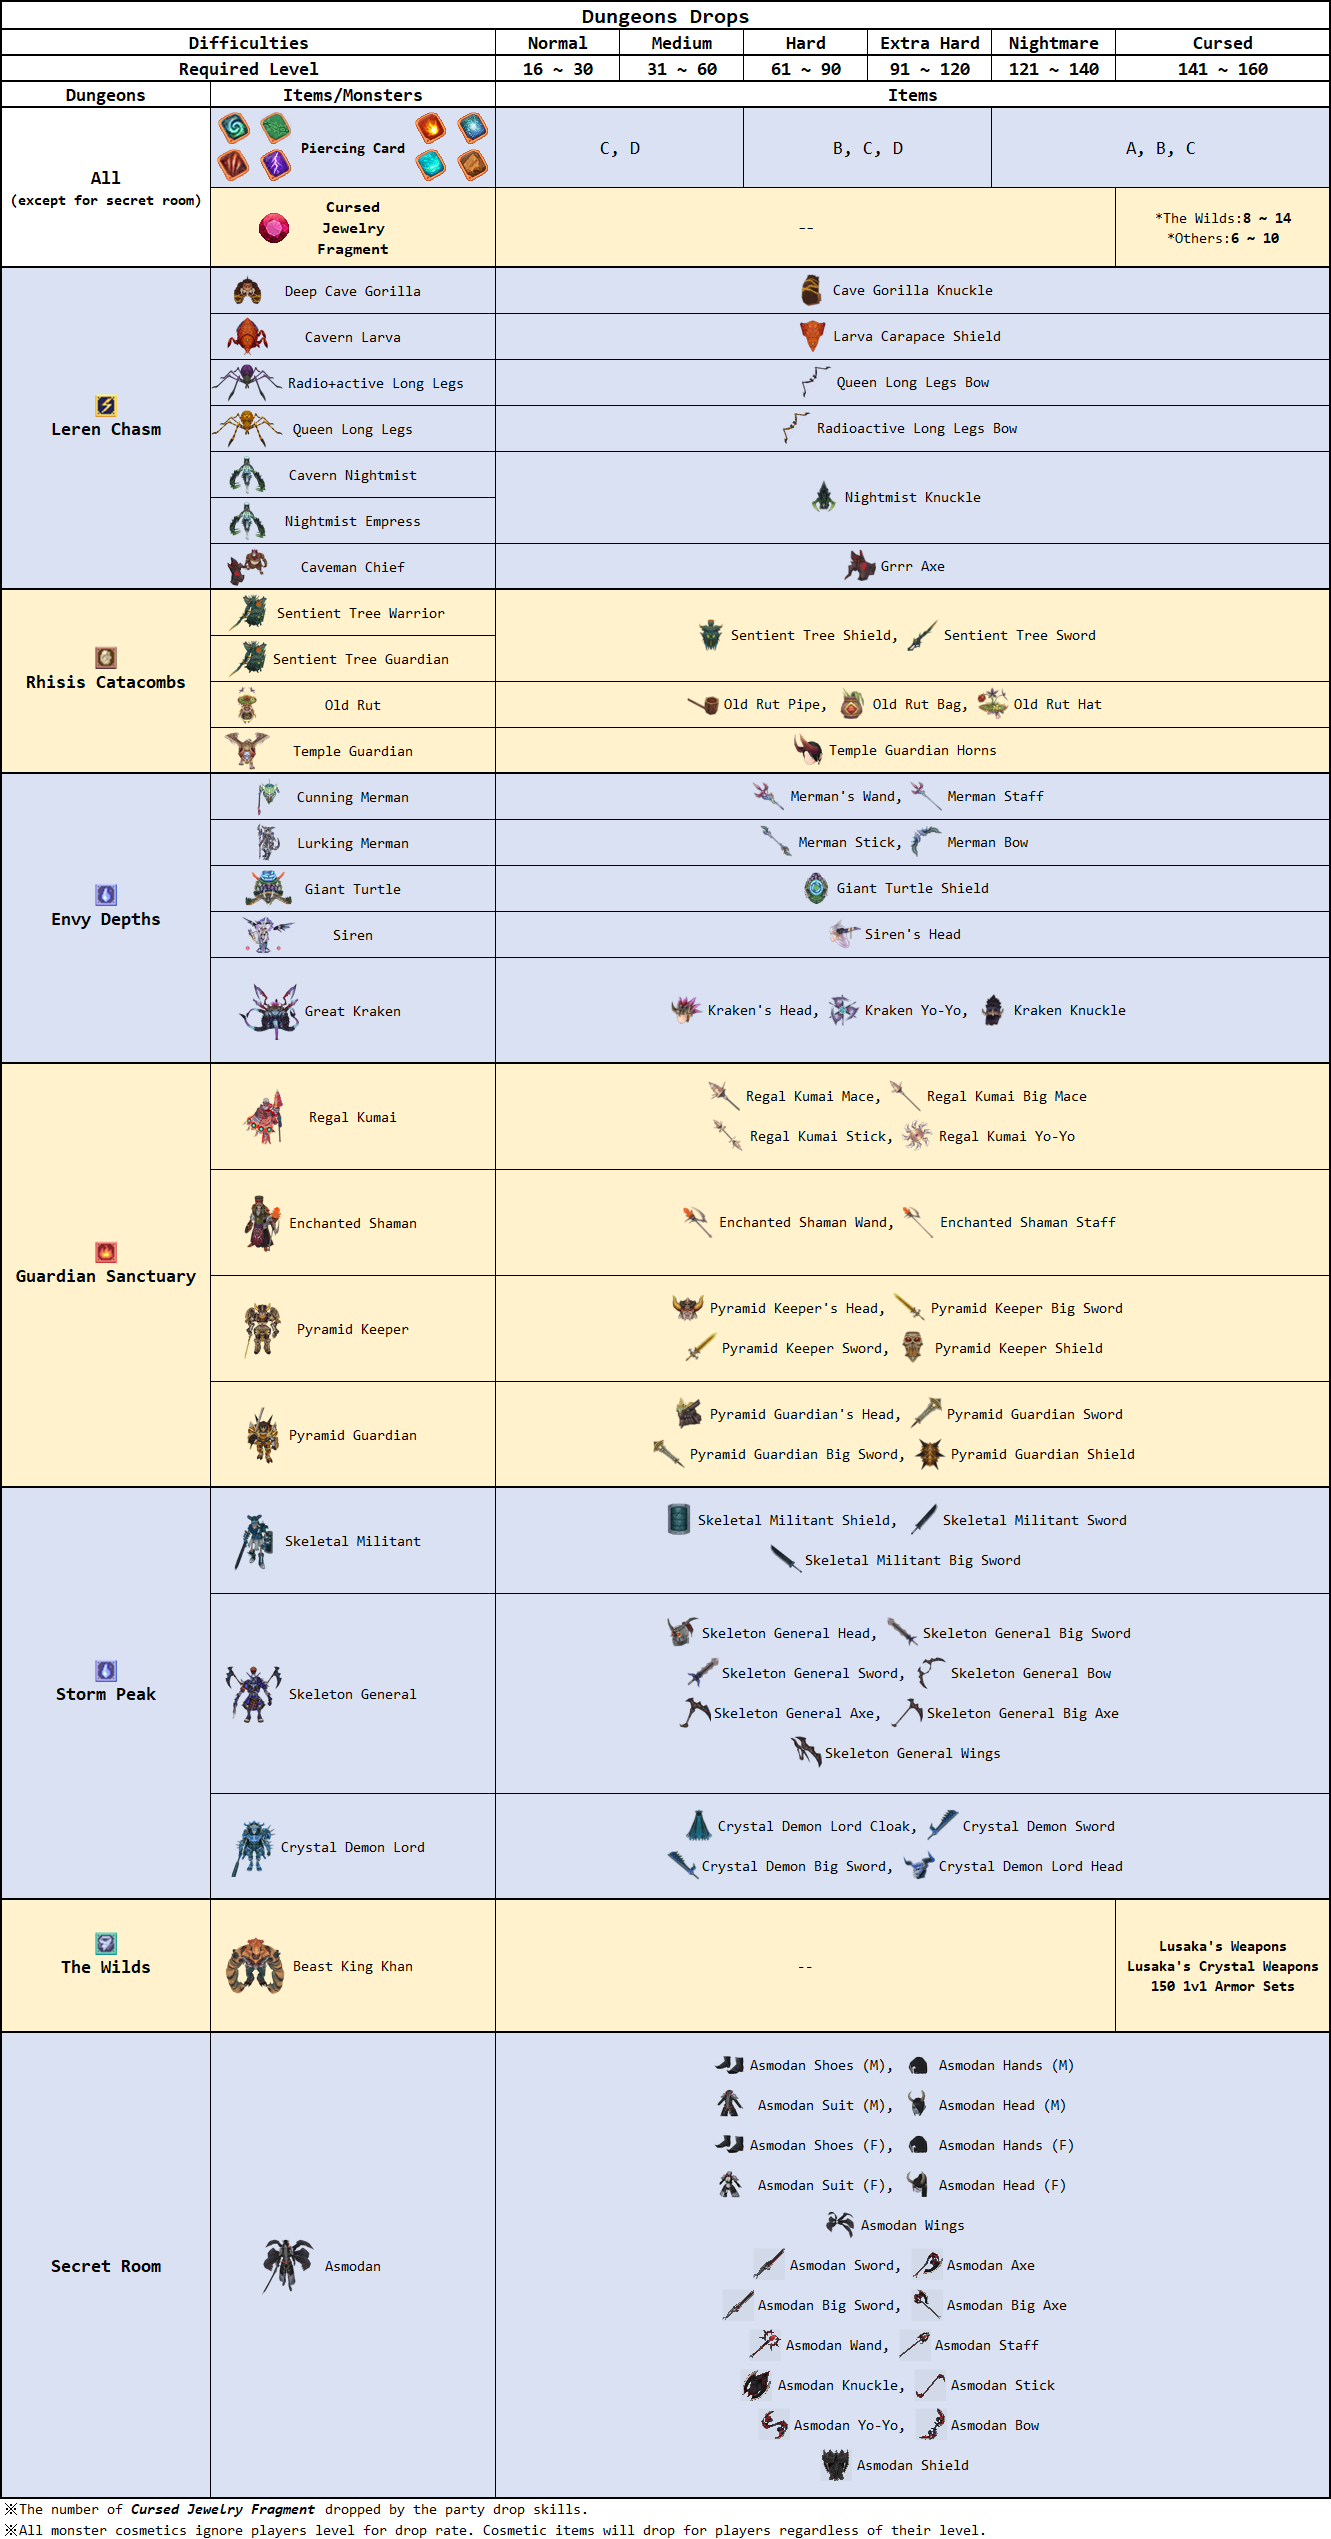
Amongst other drops, each dungeon drops a variation of the Weapon Piercing Cards. The cards that drop depend on the level of the dungeon, whereas lower-level dungeons are more likely to drop lower-tier piercing cards, and higher-level dungeons are more likely to drop the higher-tier piercing cards. However, there is always one dungeon with the best drop rate for a given card tier; For example, while all Nightmare difficulty dungeons can drop A cards,
Storm Peak has the highest probability of the Reborn dungeons.

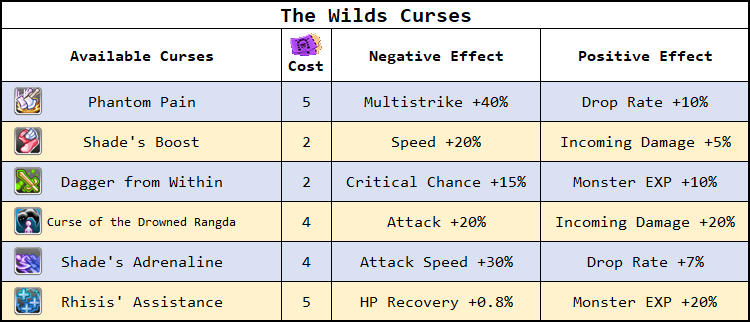
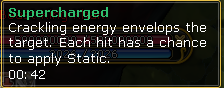
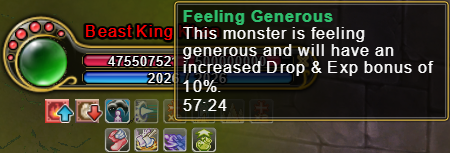
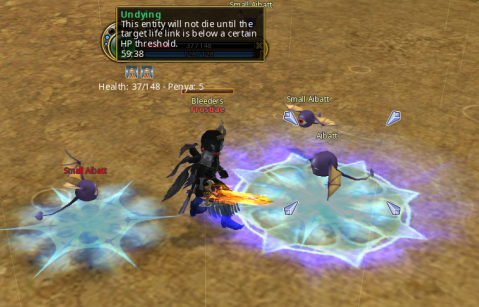
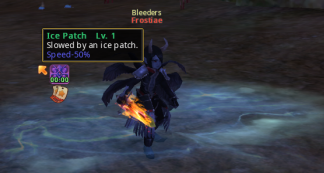
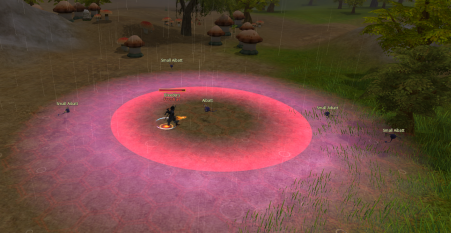
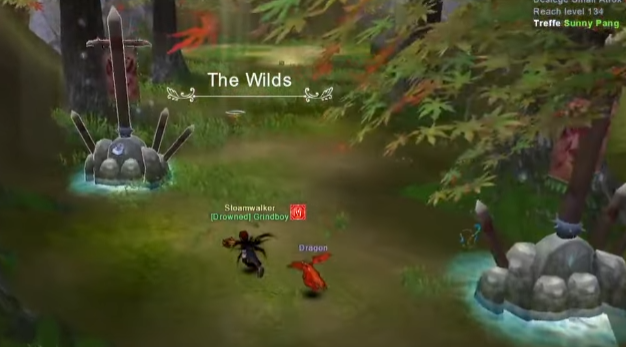
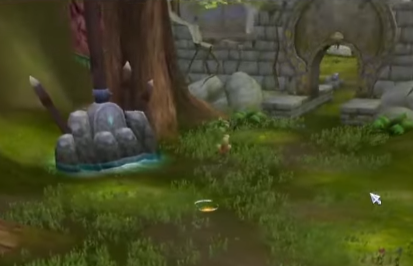
The Wilds also come with various new mechanics, some of which are explained in the The Wilds New Mechanics section.

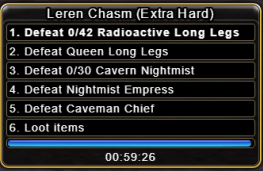
The levels and difficulties available for each dungeon as are follows:

The monsters in these dungeons have no level. They are balanced according to the required entry-level, but they do not interact the same way as other monsters in terms of level difference penalties. The monsters do not have any damage reduction based on the level difference, so their damage is not affected by your level at all. They also have no drop penalties based on the level difference, so it doesn’t matter what level you are – if you can enter the dungeon, you have the full drop rate potential.

Layouts of the 6 Dungeons

The required level to enter the dungeons depends on the difficulty and is mentioned above (in the picture.

Leren Chasm

Leren Mountains, Flaris

Rhisis Catacombs

Garden of Rhisis

Envy Depths

Cave of Envy, Darkon 1

Guardiane Sanctuary

Guardiane, Darkon 3

Storm Peak

Frozen Lakes, Azria

The Wilds

Coral Island

Dungeon Curses

All the new dungeons have available dungeon curses to choose from before creating the instance. The dungeon curses may differ between each dungeon and even each difficulty of the same dungeon. Curses apply a negative effect to the dungeon while applying a corresponding positive effect at the same time, at a dungeon coin cost. Only the creator of the dungeon instance can select curses, and the extra dungeon coin cost associated with the curses is taken from the creator. 

The exact values of the negative and positive effects can differ between difficulties and dungeons. For example, some curses grant an extra drop rate for all monsters inside the dungeon, ranging from as low as 1% to as high as 10%. The cost of each curse varies based on how rewarding the positive effect may be, and you may enable any amount of curses at the same time. Once inside the dungeon, all active curses can be seen on any monster’s target UI.

Dungeon curses can change the experience of every run very heavily depending on which curses are enabled – the more you invest into the run, the more returns you can expect. Here are the currently available curses:

Pet Cages

The new dungeons also all include a new type of interactable: Pet Cages. These are cages located somewhere on the map that have a chance to include a raised pet inside, with all levels set to 1. Each dungeon has 2 pet cages – one somewhere along the middle of the dungeon, and one somewhere by the boss. These pets can serve as introductory pets for lower-level players, or be used as sacrifices for rerolling other pets.

They spawn after the relevant steps in the dungeon are completed, not all at once in the beginning.

The cages found in each dungeon are the same no matter the difficulty level. So, in all the difficulties of Leren Chasm, for example, there is only an E-tier and a D-tier pet cage.

To open a pet cage, you need a Cage Key. There are three
types of keys that open three different types of pet cages. The types
of available pet cages are:

  • E-tier Pet Cage, containing an E-tier pet
  • D-tier Pet Cage, containing a D-tier pet
  • C-tier Pet Cage, containing a C-tier pet
  • B-tier Pet Cage, containing a B-tier pet
  • A tier Pet Cage, containing an A-tier pet
  • S-tier Pet Cage, containing an S tier pet

The keys required to open each cage and the location of each pet cage are as follows:

Treasure Chests

Treasure Chests can contain Essential boxes, Element Attack boxes, Pillboxes, and Rainbow Cotton candies.

They spawn after the relevant steps in the dungeon are completed, not all at once in the beginning.

Story mode for each of the 6 dungeons

Story Dungeons allow players to experience a dungeon and its mechanics, while making it easier to complete the story quests associated with a dungeon alone or in a smaller group. Monsters in Story Mode grant 90% reduced experience, while also having 90% reduced health and attack. They also do not drop items.

  • Story mode dungeons do not have curses applied.
  • Story mode dungeons do not have Pet Cages or chests.
  • Common buffs are not removed when entering a Story mode dungeon.
  • Final bosses in Story mode dungeons do not grant Soul Fragments.
  • Story mode dungeons do not grant credit towards achievements, but do count towards the daily Clear Dungeon(s) battle pass mission.

Story Mode exists for the following dungeons:

  • Leren Chasm (Levels 16+)
  • Rhisis Catacombs (Levels 31+)
  • Envy Depths (Levels 61+)
  • Sanctuary (Levels 91+)
  • Storm Peak (Levels 120+)
  • The Wilds (Levels 140+)

Checkpoints

Dungeons have checkpoints that appear after players have cleared certain objectives. These checkpoints can be used to teleport back to the entrance and vice versa.

Here is an example of The Wilds’ starting left checkpoint, which teleports you to the end checkpoint.

Rankings

All the dungeons (including Secret Room) have rankings for completion time, updated every 5 minutes, which can be viewed through the Ranking button at each dungeon NPC. Rankings are sorted by completion time, with the fastest runs being ranked at the top.

Cursed Dungeons

Cursed dungeons are for characters level 141-160. Players can earn the same rewards they did in the level 121-140 Nightmare dungeons, along with the following new items:

  • Sunstones: Base upgrade material for Ultimate equipment. You can also obtain these from Giant and Violet monsters by chance.
  • Cursed Jewelry Fragments: Combined with Jewelry Dust to craft the new Ultimate jewelry sets. You can also obtain this via the Dismantle system.

Cursed dungeons cost the same entry fee as Nightmare dungeons.

Addition information about 'The Wilds'

You can enter The Wilds dungeon from levels 141 to 160 with your allies for a chance to earn level 150 weapons, armor, and crafting reagents. These include items you will need to make your Ultimate Weapon. You can enter the dungeon through a guarding NPC as usual, in the swampy area of Coral Island. The entry fee to The Wilds dungeon is the same as Nightmare dungeons.

Loots

In the Wilds dungeon, you can earn the same rewards you did in the level 121-140 Nightmare dungeon along with the following new additions:

  • Sunstones : Base upgrade material for Ultimate equipment. You can also obtain these from Giant and Violet monsters by chance.
  • Cursed Jewelry Fragments : Combined with Jewelry Dust to craft the new Ultimate jewelry sets. You can also obtain this via the Dismantle system.
  • Ultima 
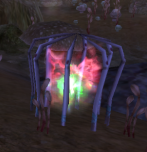
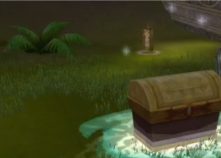
: Ultima may be rarely collected from Treasure Chests in The Wilds, and 10 of these can be delivered to the Mysterious Islander in return for 1 Ultimate Orb. Ultima is also obtainable from Giant monsters by chance.
  • Level 150 1v1 Armor Sets: Beast King Khan has a chance to drop Armor Set pieces targeted towards 1v1 characters.
  • Level 150 Unique Weapons: Beast King Khan has a chance to drop Unique Weapons (Lusaka’s)

Attention: The Hernes weapons can only be dropped by giant and violet monsters on Coral Island.

The Wilds Curses

As mentioned above, each dungeon and each difficulty has its curses. 

Here is the data of the most recent and most important dungeon at the moment.

New Mechanics

The New Horizon expansion introduces exciting monster mechanics to The Wilds dungeon. Brace yourself for a fresh wave of challenges as your team confronts the formidable domain of Beast King Khan!

Tethered

The Twinstrike Den Mother wields the ability to inflict crippling debuffs on those she can connect with through her tether. Once a tether is established, a chain effect binds the enemy and player, persisting until the player severs the connection. To overcome this boss, players must make a tactical retreat to break the chain.

Summoning Strike

In The Wilds, certain adversaries possess the power to summon reinforcements when their strikes connect with a player. Stay vigilant for these Summoning Strikes, or be ready to confront an army.

Pestilence

Disease and dark energies flow throughout the shadowy corners of Madrigal, some of which propagate from person to person like a pandemic. Pestilence has been introduced in The Wilds dungeon, allowing debuffs to jump from one player to another unless they are far enough away when the debuff expires. Keep an eye out for the shocking Static debuff in the final Beast King Khan encounter.

Conditional Debuffs

In the showdown against Beast King Khan, he attains the Supercharged buff once the Electric Totem Pole is vanquished. It’s only during this Supercharged state that the boss can imbue Static upon all those struck by his attacks!

The bosses Beast King Khan's debuff skill 'Jungle Fever'

Beast King Khan has a 5% chance to infect a player with the debuffJungle Fever‘.

A filling red circle on the ground indicates the use of the debuff.

It lasts 10 seconds and reduces your stats by 50, Speed by 40%, Casting Time by 50%, and Attack Speed by 20%.

Attention: Once 1 player gets infected he can infect his other teammates when his debuff expires. So run away from the battle if you get infected (for the next 10 seconds). The range to infect a teammate is approximately double as high as a max. range shot with a bow.

Important dungeon drops

  • Golden Aibatts have a low chance of spawning in the dungeons. If you kill a Golden Aibatt in dungeons, your final boss monster will have the buff Feeling Generous.
  • The buff Feeling Generous the drop rate is applied to all drops not rare only.


  • Player level does not affect the drop rate of monster cosmetics, players may farm cosmetics effectively at any level.
  • Instanced dungeon (specifically Reborn dungeons) monsters do not have a drop penalty based on level due to the scaled nature of the monsters.
    • For instance, a level 126 and 140 would have the same drop rate when defeating monsters in Storm Peak.

Tip for clearing the dungeons more efficiently

For clearing the dungeons more efficiently, we recommend you search for fixed teammates to clear the dungeon regularly. That each player knows their part.

In your party, you have up to 8 slots, which we recommend to fill as follows:

  • 1 Tank, who can pull a bunch of monsters
  • 1 better 2 AoE Damage Dealer, who can attack the pulled monsters more efficiently 
  • 1 better 2 Full Support Ringmaster, who buffs and heals the team, especially healing and using the Skill Barrier of Life (absorbs all incoming DMG for 2 seconds) to protect the tank while having all pulled monsters attacking him.
  • 3-5 1vs1 Damage Dealer, to be able to kill the mid-bosses and main-boss more efficiently.

New Mechanics

New mechanics and putting a lot more thought into existing mechanic applications for various monsters and bosses, especially in the 6 dungeons. You can see some new behavior from some of the monsters and bosses, besides the regular shape attacks that you already know!

While you may see similar mechanics to ones you have seen before, many of the mechanics in the dungeons will require more thought and strategy to combat, as opposed to being a binary situation where the only right option is to exit the region of attack.

Undying

Monsters can receive special buffs if another specific monster dies nearby. For example, If you kill a Small Aibatt near an Aibatt, the Aibatt will receive
a special buff called Pack Tactics, greatly increasing its attack power.
Once a monster receives an Avenger buff, a special effect plays to indicate the monster receiving the buff

Explode on Death

Monsters with this attribute will explode upon dying, dealing damage to surrounding players.

Clone

A monster will clone itself into some number of clones around the current player, and disappear into one of the clones. All the spawned clones except one (the real monster) have reduced health, damage, and grant no experience or drops.

Ground Patches

A map can contain certain types of patches that apply some effect on players standing on a patch. For example, an Ice Patch will slow down players on top, or a burning patch will burn and apply damage over time to players on top.

Shared Attacks

A new type of shape attack, with a purple tint to the indicator. Shared attacks’ damage is dependent on how many players are inside the region of the attack. The final damage is split between all the players inside the region.

Buff Totems

Special kinds of totems that provide players inside the attack region with short bursts of powerful buffs, such as increased defense or attack.

Burst Summons

Instead of summoning one monster at a time, a monster could summon any given number of monsters in a burst, overwhelming players.

Skill Application

Monsters have a chance to apply any arbitrary skill at a predefined probability on each one of their hits, either to their current target, a random target from their enemies, or all of their
enemies.

Do you like our website and want to make it bigger?

Then be so kind as to recommend it to other players on Discord and in-game.

Thanks!